How to Make Resistance Bands: A Step-by-Step Guide for DIY Fitness
Resistance bands are a versatile and affordable fitness tool that can enhance your workouts, but did you know you can make them at home? Whether you're looking to save money or enjoy a DIY project, creating your own resistance bands is easier than you might think. This guide will walk you through the process step by step, ensuring you end up with a product that's both functional and durable.
Why Make Your Own Resistance Bands?
Making your own resistance bands offers several advantages. First, it allows you to customize the resistance level to suit your fitness needs. Second, it can be a cost-effective alternative to purchasing commercial bands. Finally, it's a fun and rewarding project that gives you a sense of accomplishment. Plus, you can ensure the materials used are eco-friendly or tailored to your preferences.
Materials Needed
To get started, you'll need a few basic materials. These include:
- Elastic fabric or rubber tubing
- Strong adhesive or sewing kit
- Measuring tape
- Scissors
- Optional: Handles or grips
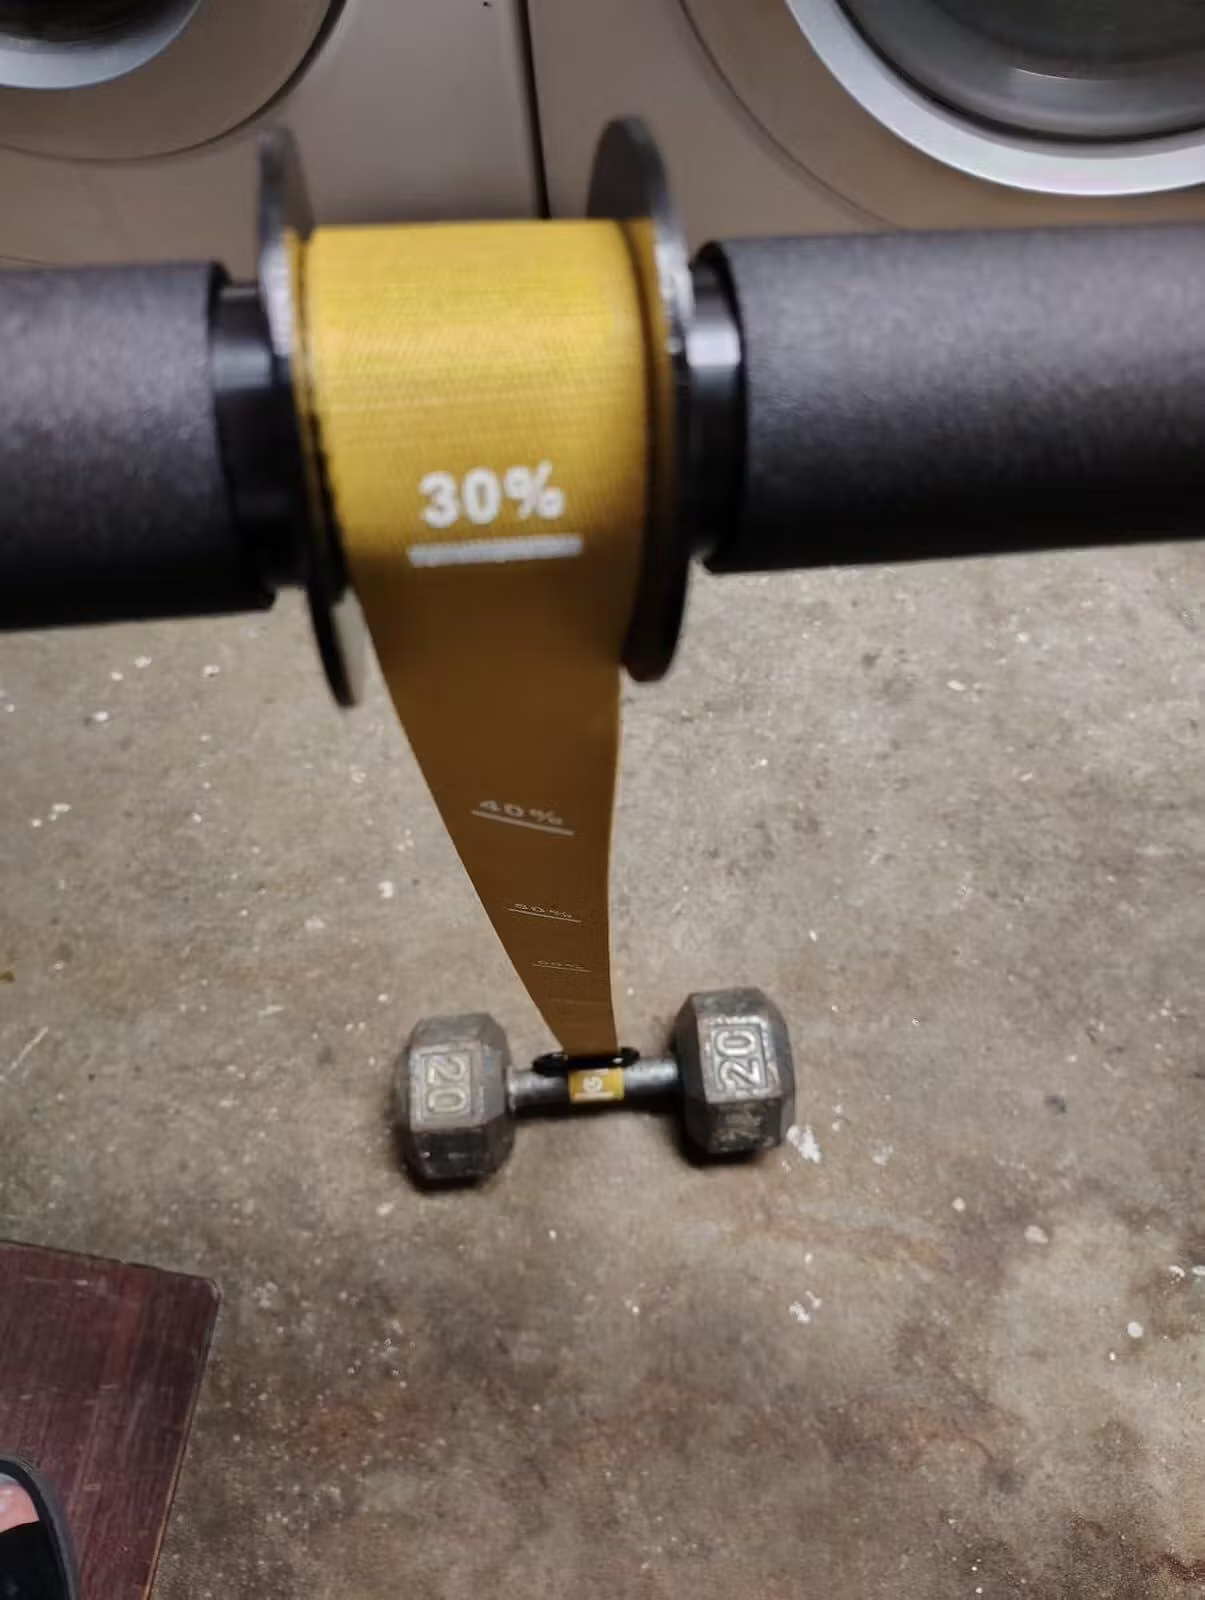
Choose high-quality elastic fabric or rubber tubing to ensure your bands are durable and safe to use. The thickness of the material will determine the resistance level, so select accordingly.
Step-by-Step Instructions
Step 1: Measure and Cut the Material
Start by measuring the length of the resistance band you want to create. A standard length is around 4 feet, but you can adjust this based on your needs. Use scissors to cut the elastic fabric or rubber tubing to the desired length.
Step 2: Secure the Ends
To prevent fraying, secure the ends of the material. If you're using elastic fabric, you can fold the ends and sew them together. For rubber tubing, apply a strong adhesive to seal the ends. Allow the adhesive to dry completely before moving on to the next step.
Step 3: Add Handles (Optional)
If you prefer resistance bands with handles, you can attach them at this stage. Use a strong adhesive or sew the handles onto the ends of the band. Make sure the handles are securely attached to prevent accidents during use.
Step 4: Test the Band
Before using your new resistance band, test it to ensure it's safe and functional. Stretch the band gently to check for any weak spots or loose ends. If everything looks good, your DIY resistance band is ready to use!
Tips for Success
Here are some additional tips to help you create the best possible resistance bands:
- Use high-quality materials to ensure durability.
- Choose the right thickness for your desired resistance level.
- Double-check all seams and adhesives to prevent accidents.
- Store your bands properly to extend their lifespan.
Safety Considerations
While making your own resistance bands can be a fun project, safety should always be a priority. Ensure the materials you use are strong enough to withstand repeated stretching. Avoid using materials that may snap or break under pressure. Always test your bands before incorporating them into your workouts.
Benefits of Using Resistance Bands
Resistance bands are a fantastic addition to any fitness routine. They are portable, versatile, and can be used for a wide range of exercises. Whether you're working on strength training, flexibility, or rehabilitation, resistance bands can help you achieve your goals. Making your own bands allows you to tailor them to your specific needs, making your workouts even more effective.
Ready to take your fitness routine to the next level? By following this guide, you can create your own resistance bands that are both cost-effective and customized to your needs. Start your DIY project today and enjoy the benefits of a personalized fitness tool!