How to Use Ankle Resistance Bands for Maximum Fitness Benefits
Ankle resistance bands are versatile fitness tools that can transform your workout routine, offering a simple yet effective way to build strength, improve flexibility, and enhance overall fitness. Whether you're a beginner or a seasoned athlete, incorporating ankle resistance bands into your regimen can yield impressive results. This guide will walk you through everything you need to know about how to use ankle resistance bands effectively.
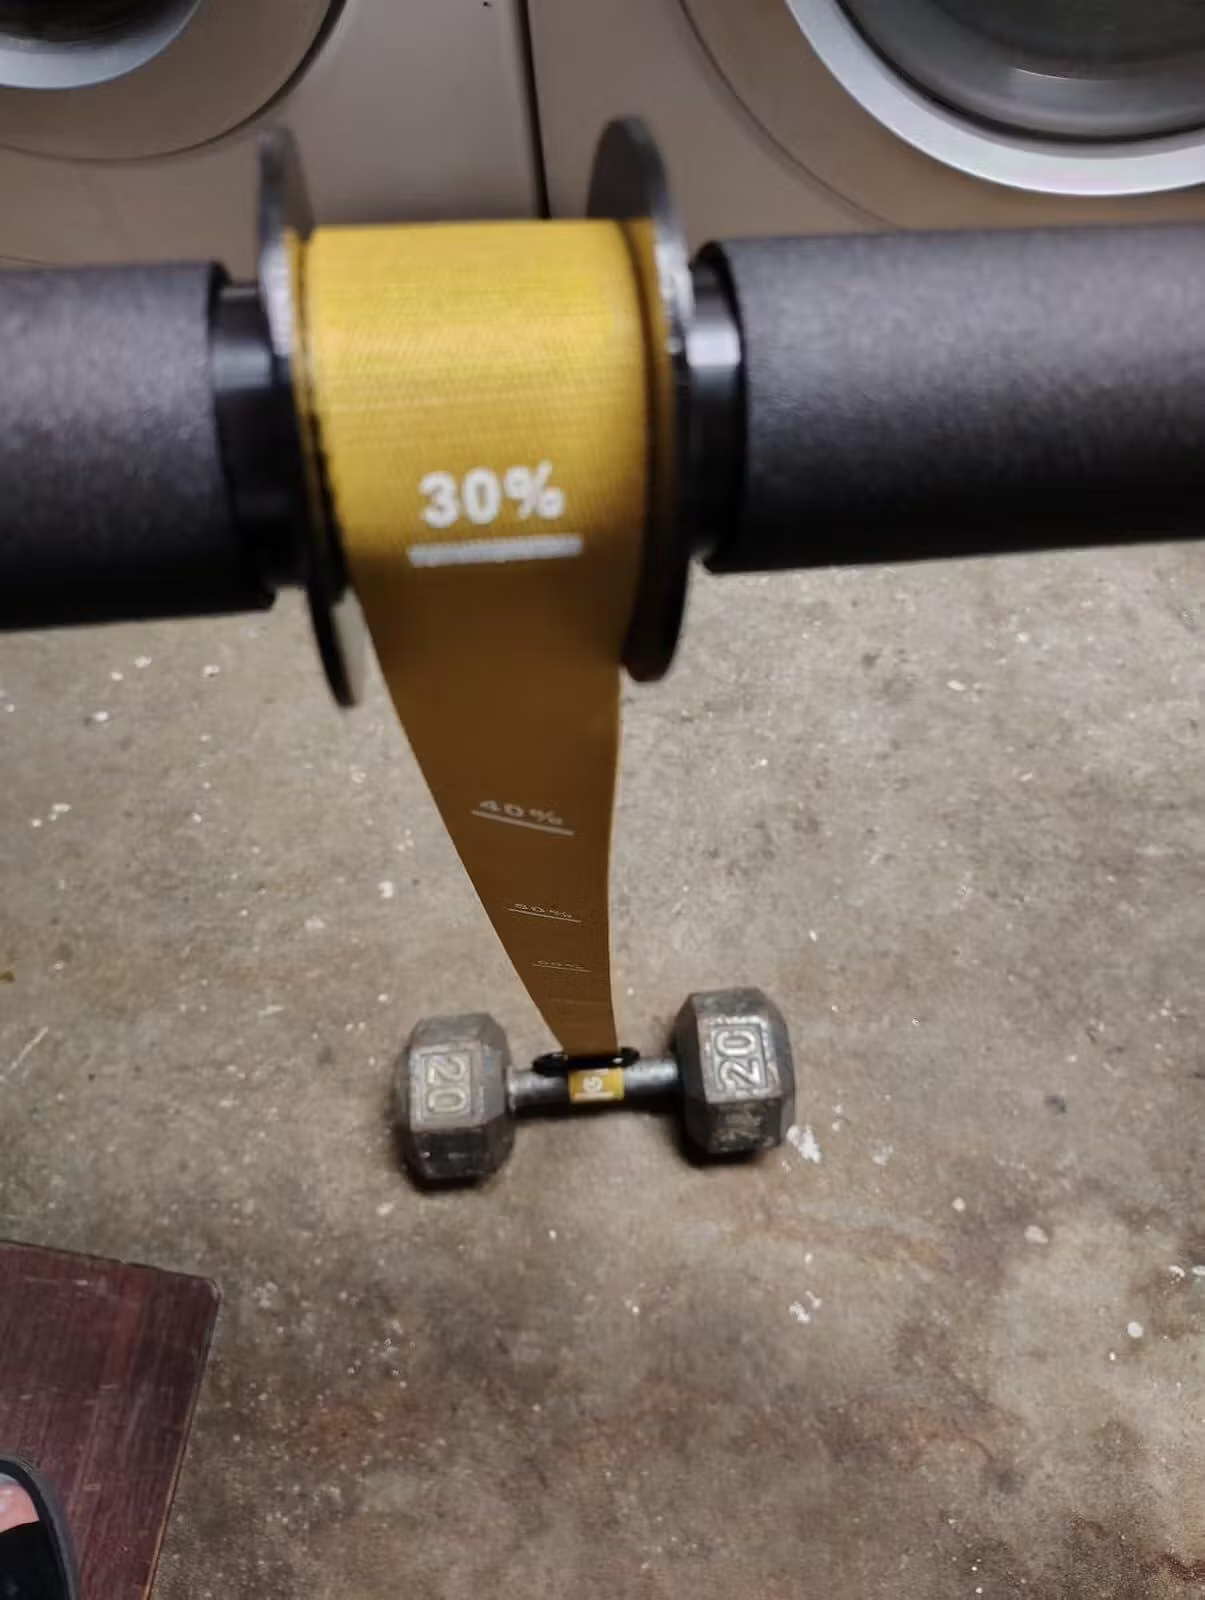
What Are Ankle Resistance Bands?
Ankle resistance bands are elastic bands designed to be worn around the ankles during exercise. They provide resistance to your movements, making your muscles work harder and helping you achieve greater strength and endurance. These bands are lightweight, portable, and suitable for a wide range of exercises, making them a popular choice for home workouts, gym sessions, and even physical therapy.
Benefits of Using Ankle Resistance Bands
Using ankle resistance bands offers numerous benefits, including:
- Improved Strength: The added resistance helps target and strengthen muscles in your legs, glutes, and core.
- Enhanced Flexibility: Stretching exercises with resistance bands can improve your range of motion.
- Better Stability: These bands can help improve balance and coordination by engaging stabilizing muscles.
- Versatility: Ankle resistance bands can be used for a variety of exercises, from squats to lateral walks.
- Portability: Their compact size makes them easy to carry and use anywhere.
How to Choose the Right Ankle Resistance Bands
Selecting the right ankle resistance bands is crucial for maximizing their effectiveness. Consider the following factors:
- Resistance Level: Bands come in different resistance levels, from light to heavy. Choose one that matches your fitness level and goals.
- Material: Look for durable, high-quality materials that can withstand repeated use.
- Comfort: Ensure the bands are comfortable to wear and do not cause irritation or discomfort.
- Adjustability: Some bands are adjustable, allowing you to customize the fit and resistance.
How to Use Ankle Resistance Bands: Step-by-Step Guide
Using ankle resistance bands correctly is essential to avoid injury and achieve the best results. Follow these steps to get started:
1. Warm-Up
Before using ankle resistance bands, it's important to warm up your muscles. Perform light cardio exercises like jogging or jumping jacks for 5-10 minutes to prepare your body.
2. Secure the Bands
Place the bands around your ankles, ensuring they are snug but not too tight. Adjust the fit if necessary to ensure comfort and stability.
3. Start with Basic Exercises
Begin with simple exercises to get accustomed to the resistance. Some beginner-friendly exercises include:
- Lateral Walks: Step side-to-side while keeping tension on the bands.
- Leg Lifts: Lift one leg at a time while maintaining balance.
- Squats: Perform squats while wearing the bands to add resistance.
4. Gradually Increase Intensity
As you become more comfortable with the bands, incorporate more challenging exercises like lunges, step-ups, and glute bridges. Increase the resistance level as your strength improves.
5. Cool Down and Stretch
After your workout, take time to cool down and stretch your muscles. This helps prevent soreness and improves flexibility.
Tips for Maximizing Results
To get the most out of your ankle resistance band workouts, keep these tips in mind:
- Maintain Proper Form: Focus on maintaining correct posture and technique to avoid injury.
- Consistency is Key: Incorporate ankle resistance bands into your routine regularly for lasting results.
- Combine with Other Exercises: Use the bands alongside other strength training and cardio exercises for a well-rounded workout.
- Listen to Your Body: If you experience pain or discomfort, stop the exercise and adjust the bands or your technique.
Common Mistakes to Avoid
When using ankle resistance bands, it's easy to make mistakes that can hinder your progress or lead to injury. Avoid these common pitfalls:
- Using Too Much Resistance: Starting with a band that's too heavy can strain your muscles and joints.
- Neglecting Warm-Up and Cool-Down: Skipping these steps can increase the risk of injury and muscle soreness.
- Poor Form: Incorrect technique can reduce the effectiveness of the exercise and lead to injury.
- Overuse: Using the bands too frequently without adequate rest can lead to overtraining and fatigue.
Sample Ankle Resistance Band Workout
Here's a sample workout routine to help you get started with ankle resistance bands:
- Warm-Up: 5-10 minutes of light cardio.
- Lateral Walks: 3 sets of 10 steps in each direction.
- Leg Lifts: 3 sets of 12 lifts per leg.
- Squats: 3 sets of 15 squats.
- Lunges: 3 sets of 10 lunges per leg.
- Glute Bridges: 3 sets of 15 bridges.
- Cool Down and Stretch: 5-10 minutes of stretching.
Safety Precautions
While ankle resistance bands are generally safe to use, it's important to take certain precautions to avoid injury:
- Check the Bands: Inspect the bands for any signs of wear or damage before each use.
- Start Slowly: Begin with light resistance and gradually increase as your strength improves.
- Use on a Stable Surface: Perform exercises on a flat, non-slip surface to maintain balance.
- Consult a Professional: If you're new to resistance training or have any medical conditions, consult a fitness professional or healthcare provider before starting.
Ankle resistance bands are a game-changer for anyone looking to elevate their fitness routine. With proper technique, consistency, and a bit of creativity, you can unlock their full potential and achieve your fitness goals. Start incorporating these bands into your workouts today and experience the difference they can make in your strength, flexibility, and overall health.