Make Your Own Resistance Bands: A Comprehensive Guide to DIY Fitness
Are you looking for a budget-friendly and customizable way to enhance your fitness routine? Making your own resistance bands is an excellent solution that allows you to tailor your workout equipment to your specific needs. Whether you're a fitness enthusiast or a beginner, this guide will walk you through everything you need to know to create effective and durable resistance bands at home.
Why Make Your Own Resistance Bands?
Resistance bands are versatile tools that can be used for a variety of exercises, from strength training to flexibility workouts. However, store-bought resistance bands can be expensive, and they may not always meet your specific requirements. By making your own, you can save money, customize the resistance level, and ensure that the bands are made from materials you trust.
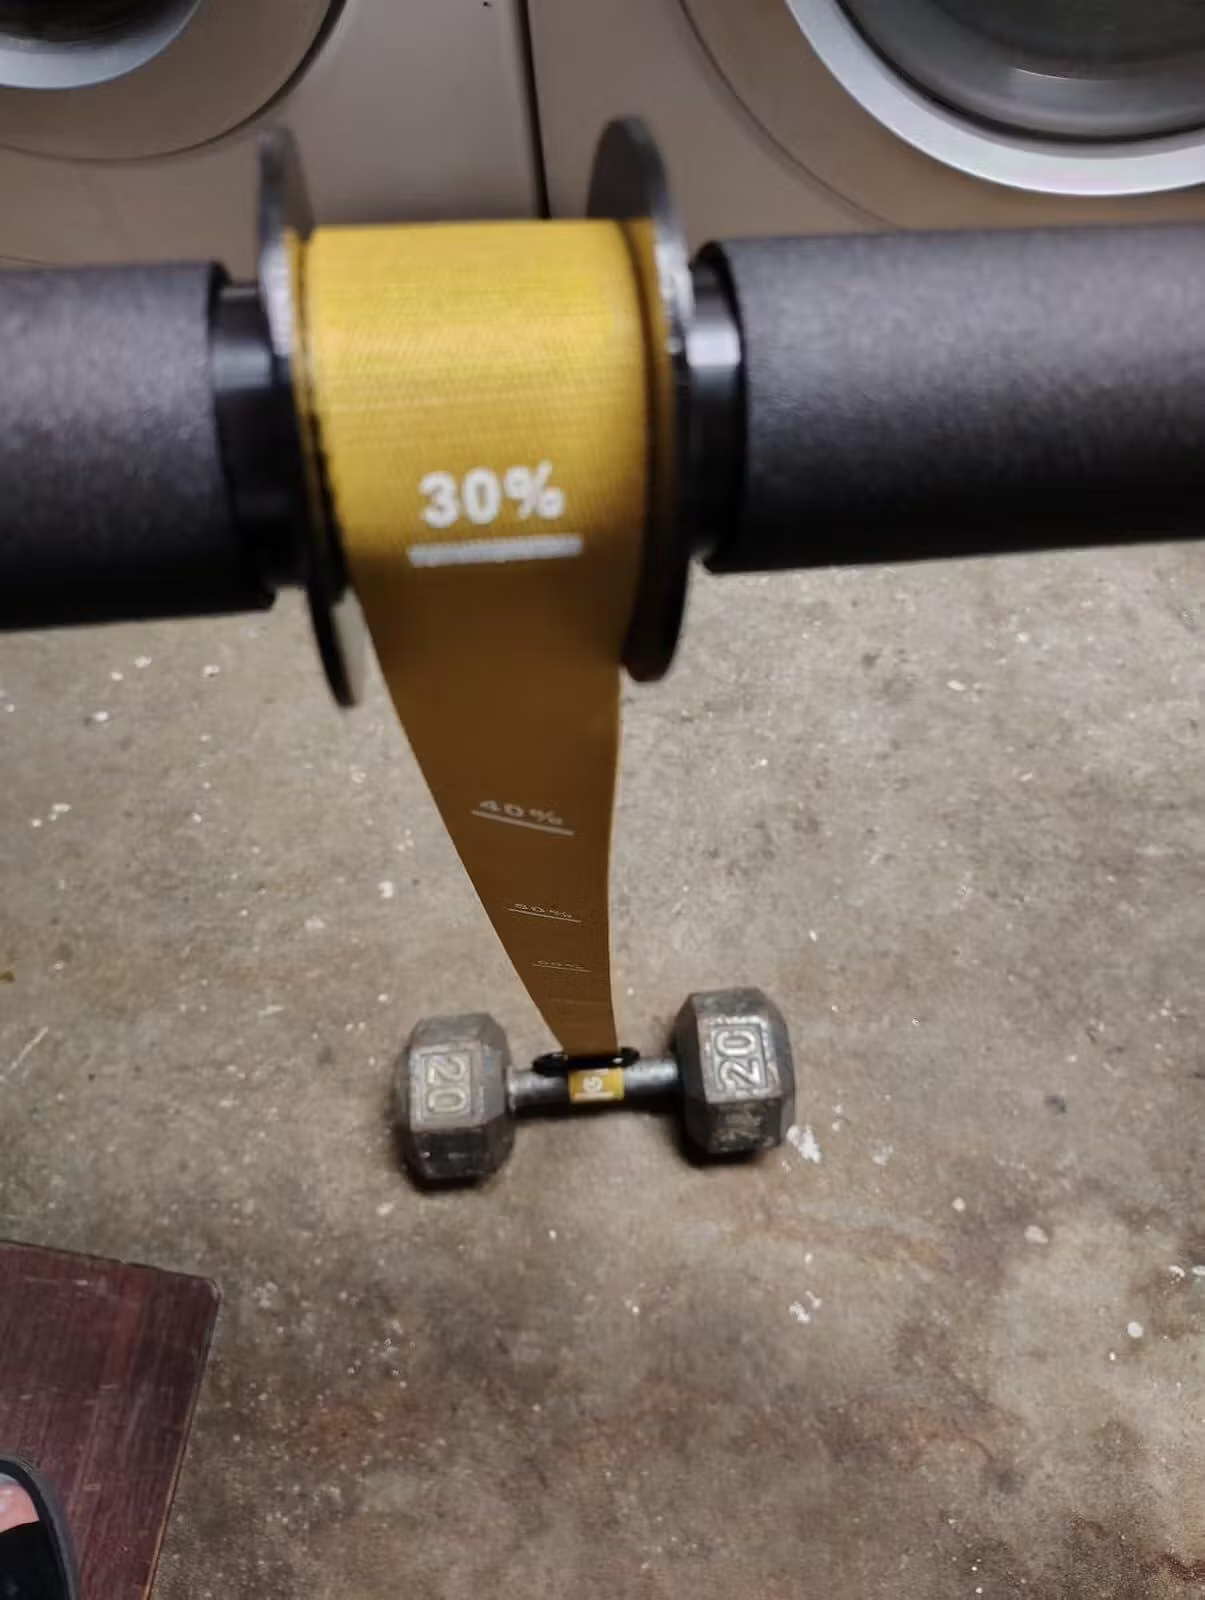
Materials Needed to Make Your Own Resistance Bands
To get started, you'll need a few basic materials. These include:
- Elastic fabric or tubing
- Scissors
- Measuring tape
- Strong adhesive or sewing kit
- Handles (optional)
Elastic fabric or tubing is the most crucial component, as it provides the resistance needed for your workouts. You can find these materials at craft stores or online. Make sure to choose a high-quality elastic that can withstand repeated stretching and pulling.
Step-by-Step Guide to Making Your Own Resistance Bands
Step 1: Measure and Cut the Elastic
Start by measuring the length of elastic you need. A standard resistance band is usually around 4 to 6 feet long, but you can adjust the length based on your height and the type of exercises you plan to do. Use a measuring tape to ensure accuracy, then cut the elastic with sharp scissors.
Step 2: Secure the Ends
Once you've cut the elastic, you'll need to secure the ends to prevent fraying. You can do this by folding the ends over and using a strong adhesive or sewing them together. If you prefer, you can also attach handles to the ends for a more comfortable grip.
Step 3: Test the Resistance
Before using your new resistance band, it's essential to test its resistance level. Stretch the band to ensure it provides the right amount of tension for your workouts. If the resistance is too light or too heavy, you can adjust the length or thickness of the elastic accordingly.
Benefits of Making Your Own Resistance Bands
There are several advantages to making your own resistance bands. First, it's a cost-effective alternative to buying expensive fitness equipment. Second, you can customize the bands to suit your specific needs, whether you're looking for light resistance for stretching or heavy resistance for strength training. Finally, DIY resistance bands allow you to use materials you trust, ensuring that your workout equipment is safe and durable.
Tips for Using Your DIY Resistance Bands
Once you've made your resistance bands, it's important to use them correctly to maximize their effectiveness and ensure your safety. Here are a few tips:
- Always warm up before using resistance bands to prevent injury.
- Start with lighter resistance and gradually increase as your strength improves.
- Use proper form and technique to avoid strain or injury.
- Store your resistance bands in a cool, dry place to prolong their lifespan.
Creative Exercises You Can Do with DIY Resistance Bands
Resistance bands are incredibly versatile and can be used for a wide range of exercises. Here are a few creative workouts you can try with your DIY resistance bands:
- Squats: Place the band under your feet and hold the ends in your hands as you perform squats.
- Bicep Curls: Step on the band with both feet and curl the ends up towards your shoulders.
- Shoulder Press: Stand on the band with both feet and press the ends overhead.
- Leg Lifts: Attach the band to a sturdy object and loop it around your ankle as you lift your leg.
These exercises target different muscle groups and can be easily modified to suit your fitness level.
Maintenance and Care for Your DIY Resistance Bands
To ensure that your DIY resistance bands last as long as possible, it's important to take proper care of them. Here are a few maintenance tips:
- Regularly inspect the bands for signs of wear and tear, such as fraying or stretching.
- Clean the bands with a mild soap and water solution to remove sweat and dirt.
- Avoid exposing the bands to extreme temperatures or direct sunlight, as this can weaken the elastic.
- Store the bands in a cool, dry place when not in use.
By following these simple steps, you can extend the lifespan of your DIY resistance bands and continue to enjoy effective workouts.
Making your own resistance bands is a rewarding and practical way to enhance your fitness routine. With just a few materials and some basic steps, you can create customized, durable, and cost-effective resistance bands that meet your specific needs. So why wait? Start making your own resistance bands today and take your workouts to the next level!