Reverse Lunge with Resistance Bands: A Comprehensive Guide to Master the Move
Reverse lunge with resistance bands is a versatile and effective exercise that can transform your lower body workout routine. Whether you're a beginner or a seasoned fitness enthusiast, this move offers a unique combination of strength, balance, and flexibility training. In this article, we'll explore everything you need to know about reverse lunge with resistance bands, from the basics to advanced variations.
What is a Reverse Lunge with Resistance Bands?
A reverse lunge with resistance bands is a lower body exercise that targets the glutes, quads, hamstrings, and core. Unlike a traditional lunge, where you step forward, in a reverse lunge, you step backward. Adding resistance bands increases the intensity, making the exercise more challenging and effective.
Benefits of Reverse Lunge with Resistance Bands
There are numerous benefits to incorporating reverse lunge with resistance bands into your workout routine. Here are some of the key advantages:
- Improved Balance and Coordination: Stepping backward requires more balance and coordination, which can help improve your overall stability.
- Enhanced Muscle Activation: The resistance bands add tension, which increases muscle activation, particularly in the glutes and quads.
- Joint-Friendly: Reverse lunges are generally easier on the knees compared to forward lunges, making them a safer option for those with joint issues.
- Versatility: You can easily adjust the resistance level by using different bands, making this exercise suitable for all fitness levels.
How to Perform a Reverse Lunge with Resistance Bands
Performing a reverse lunge with resistance bands correctly is crucial to maximize its benefits and avoid injury. Follow these steps:
- Setup: Place the resistance band under your front foot and hold the other end with both hands at shoulder height.
- Starting Position: Stand tall with your feet hip-width apart and engage your core.
- Step Back: Step backward with one foot, lowering your hips until both knees are bent at a 90-degree angle.
- Return: Push through your front heel to return to the starting position.
- Repeat: Perform the desired number of repetitions on one leg before switching to the other leg.
Common Mistakes to Avoid
While reverse lunge with resistance bands is a relatively simple exercise, there are some common mistakes to watch out for:
- Leaning Forward: Keep your torso upright to avoid putting unnecessary strain on your lower back.
- Knee Overextension: Ensure your front knee does not extend past your toes to protect your knee joint.
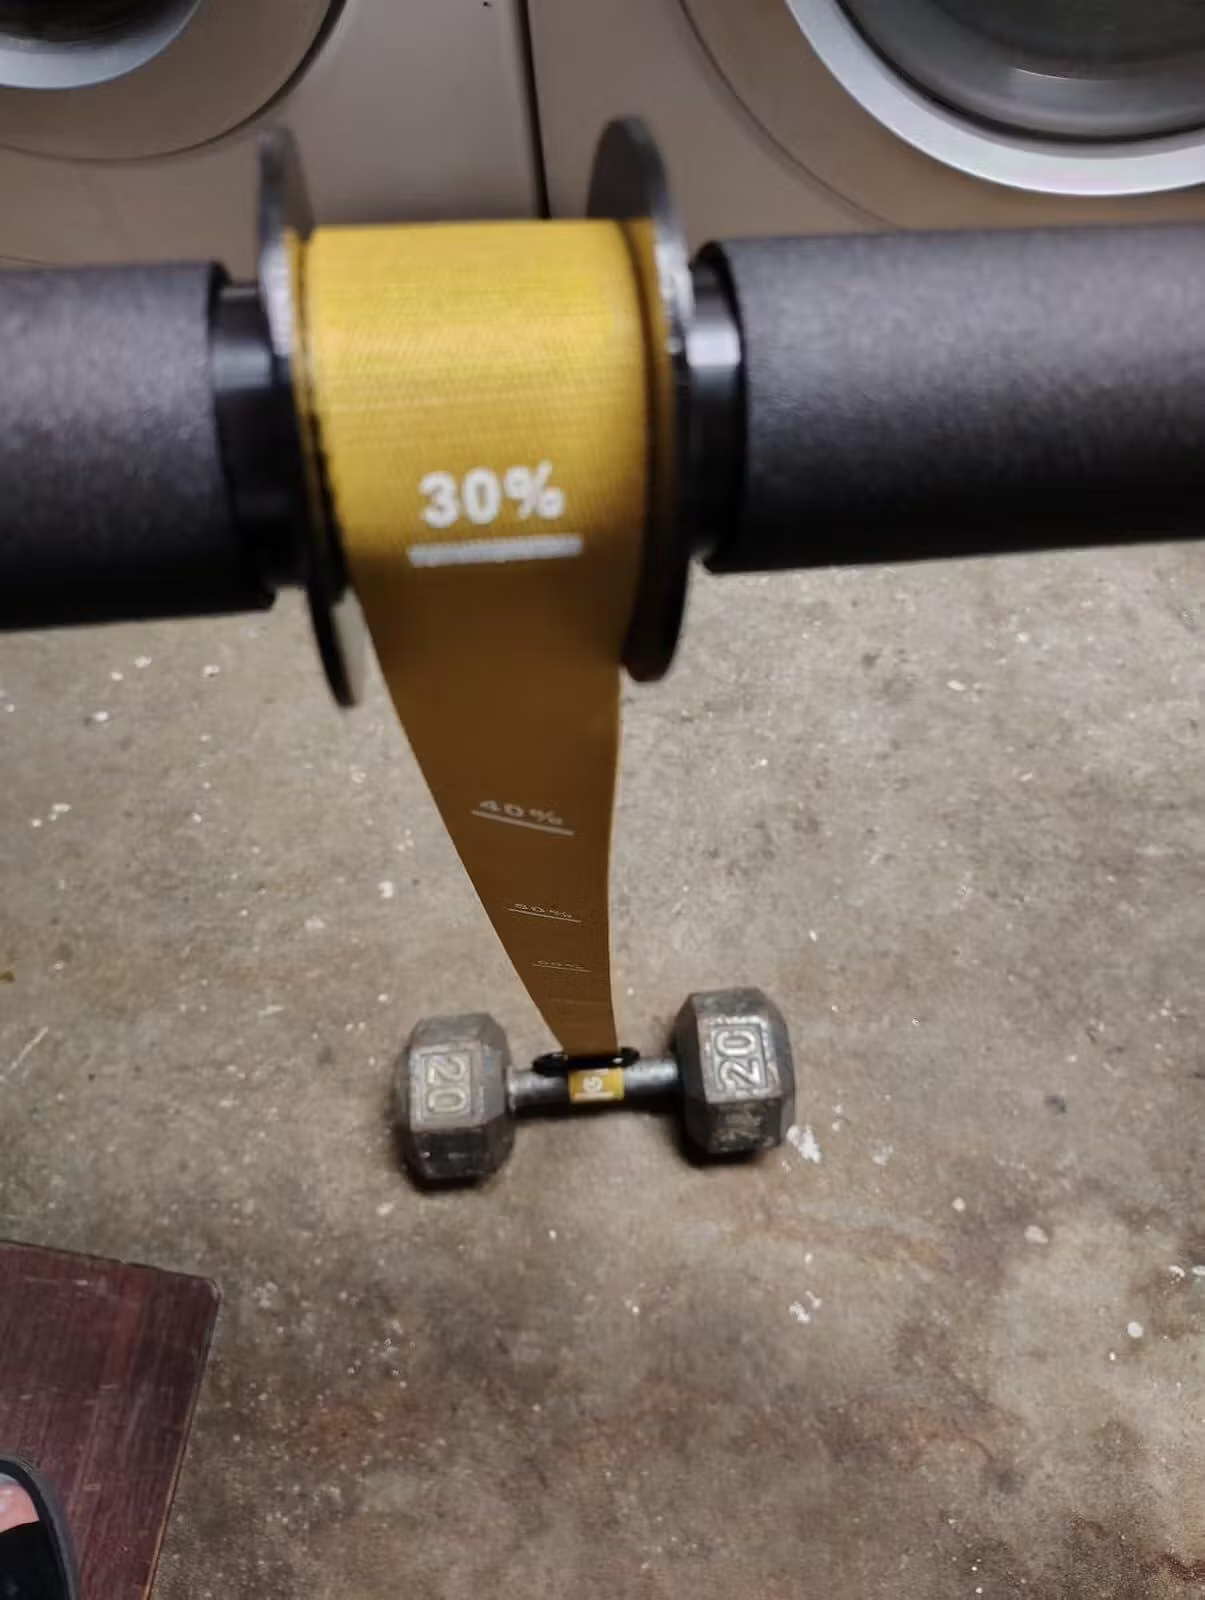
- Insufficient Resistance: Using a band that's too light can reduce the effectiveness of the exercise. Choose a band that provides adequate resistance.
Advanced Variations
Once you've mastered the basic reverse lunge with resistance bands, you can try these advanced variations to keep your workouts challenging and engaging:
- Pulsing Reverse Lunge: Add a pulse at the bottom of the lunge to increase time under tension.
- Reverse Lunge with Overhead Press: Combine the lunge with an overhead press to engage your upper body and core.
- Reverse Lunge with Side Reach: Add a side reach at the bottom of the lunge to improve flexibility and balance.
Incorporating Reverse Lunge with Resistance Bands into Your Routine
To get the most out of reverse lunge with resistance bands, consider incorporating them into your lower body or full-body workout routine. Here are some tips:
- Warm-Up: Always start with a proper warm-up to prepare your muscles and joints.
- Frequency: Aim to perform this exercise 2-3 times per week for optimal results.
- Progression: Gradually increase the resistance or the number of repetitions as you get stronger.
Reverse lunge with resistance bands is a powerful exercise that can elevate your fitness game. By mastering this move, you'll not only build strength but also improve your balance, coordination, and flexibility. Start incorporating it into your routine today and experience the transformative benefits for yourself.